If you want to try out the Power Platform to see if it can help you or your business, you are going to want a trial, or a demo, or a sandbox to see what its all about. Read or watch our guide to find out how you can achieve this for Zero cost.
10 Step Guide to Getting A FREE M365 Developer Tenant
Here's our guide to getting a Microsoft 365 for you to experiment with. Once it's ready, make sure you head to make.powerapps.com or make.powerautomate.com to try out 2 of the most popular Power Platform services.
If you want to learn how to use these in your business, pop over to any of our comprehensive Success Path Challenges, where we guarantee you'll be learn fast and creating useful products in no time.
Part 1: Join the Microsoft 365 Developer Program
To create a developer tenancy, you must register an account with the Microsoft Developer Program. The Developer Program is designed to provide resources to developers of all backgrounds, and it will allow them to start creating functionality within Microsoft 365. This could be web technologies or in this case, The Power BI Service. It will take approximately five minutes to sign up for the Developer Program.
STEP1: Go to the Developer Program - Microsoft 365 page.
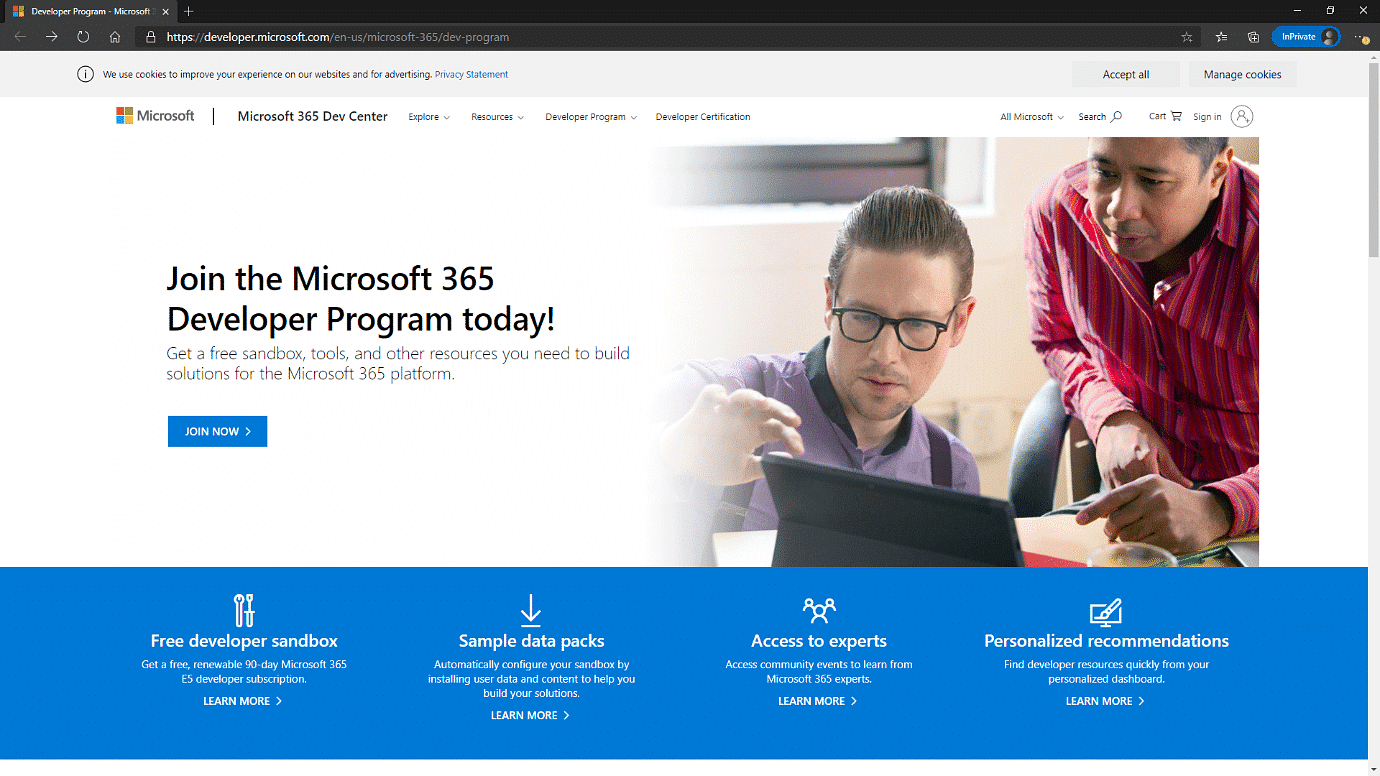
STEP 2: In the upper-right corner, choose Sign in to sign in with your Microsoft account or Azure Active Directory-enabled email.
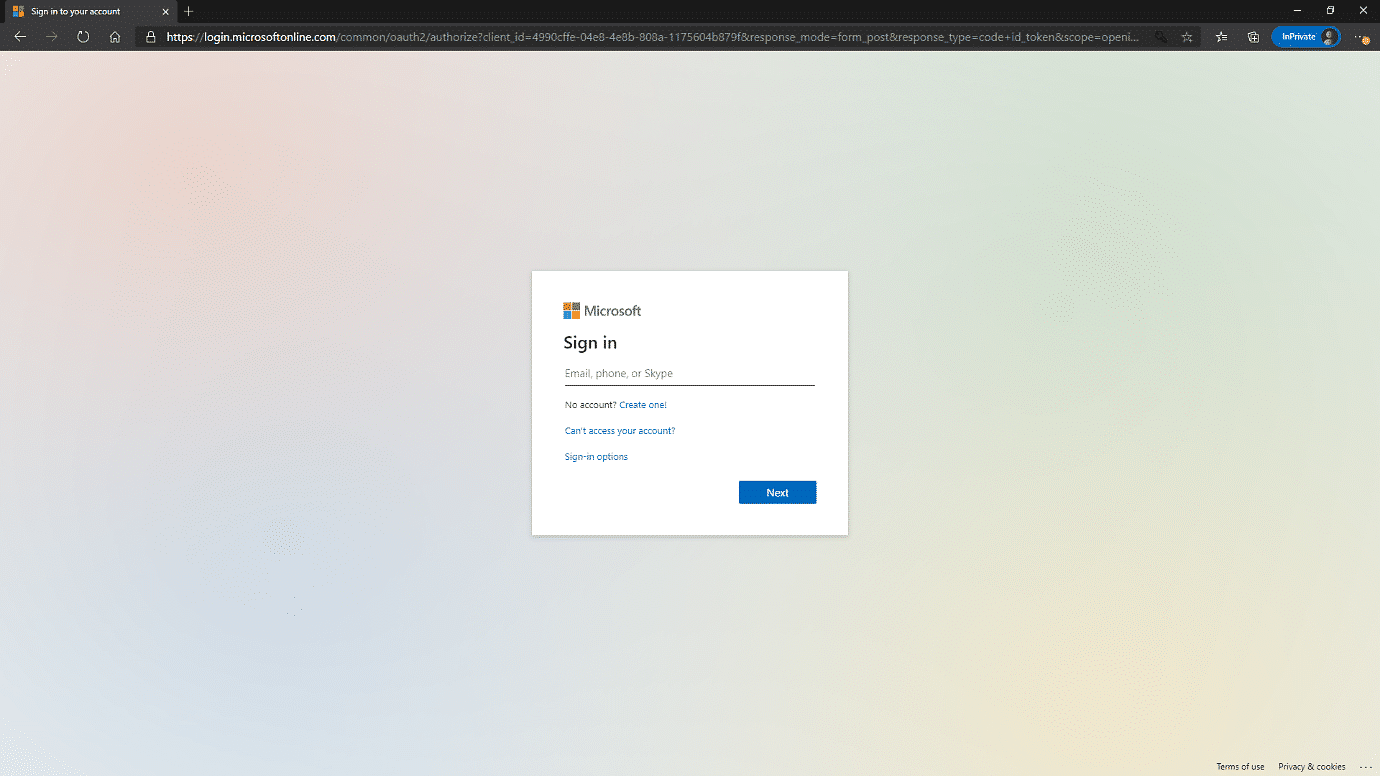
After signing in, you will be returned to the Developer Program page.
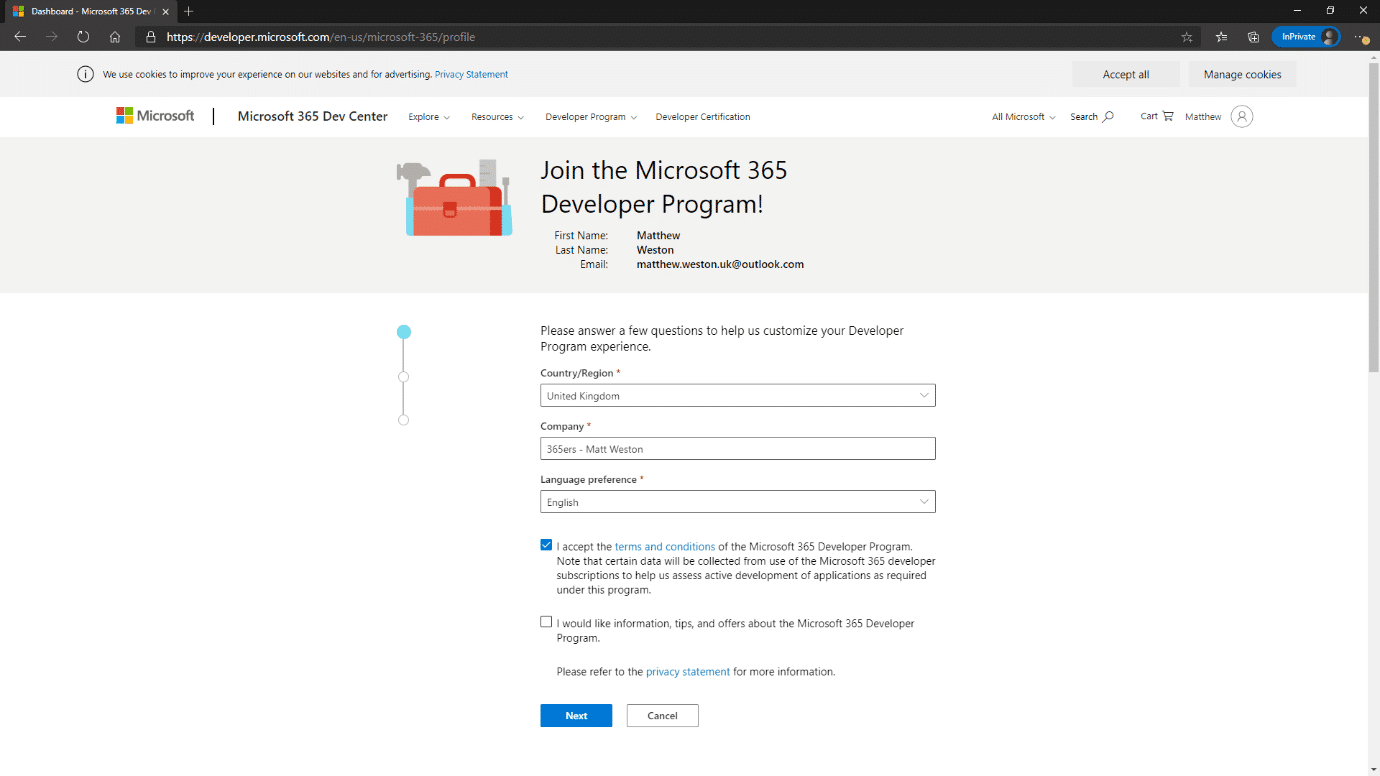
STEP 3: Choose Join now and complete the following fields in the form:
- Country/Region
- Company
- Language preference
- Review the terms and conditions. You'll need to select the check box before you can join.
- Note this is an optional step: Select the I would like to hear from the Microsoft 365 Developer Program check box if you want to hear from Microsoft about new capabilities and other updates.
- Where prompted, we recommend choosing the 👉 Instant Sandbox 👈 within the Microsoft Setup wizard. This gives you everything you need)
STEP 4: Choose Next.
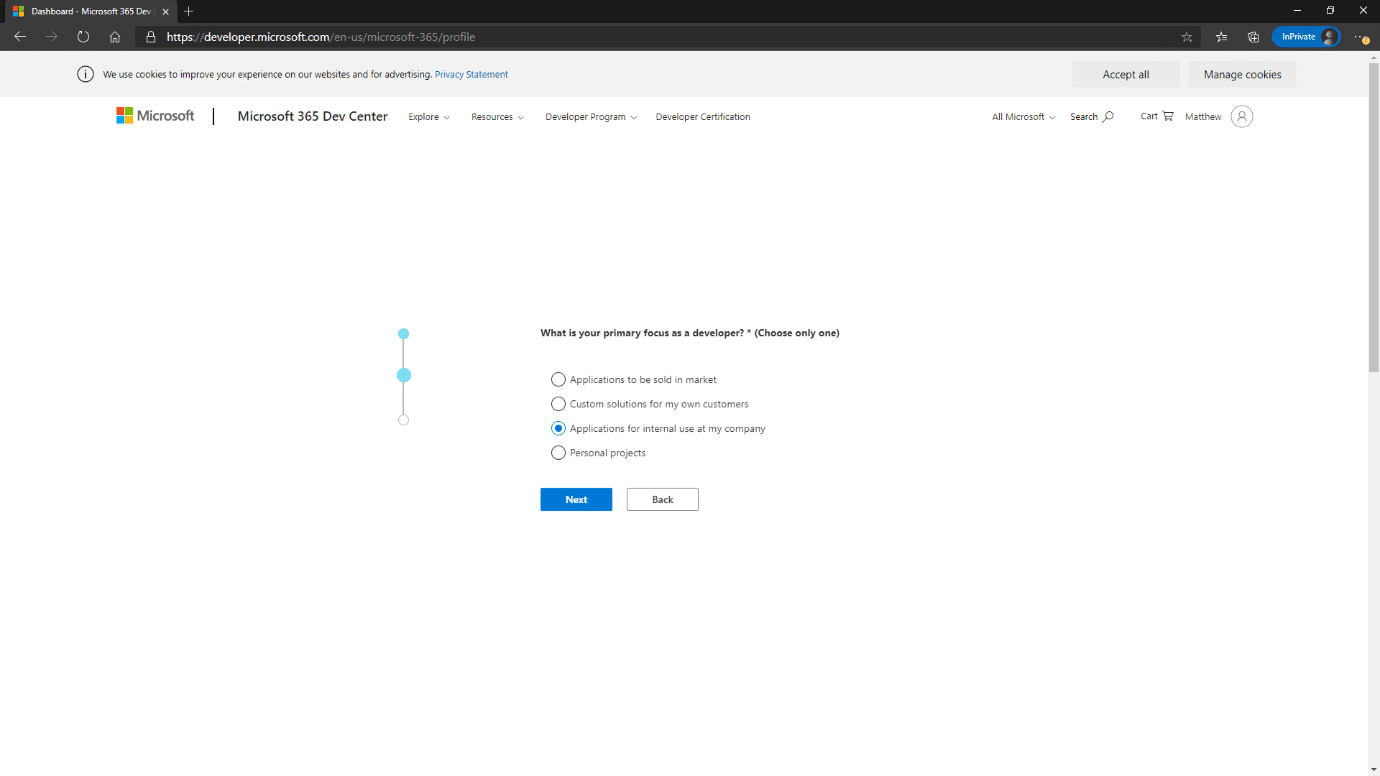
STEP 5: On the Microsoft 365 Developer Program Preferences page, set your preferences, including:
- The industry that you work in.
- The type of applications or solutions that you're interested in developing.
- Products, technologies, and programming languages that you're interested in.

STEP 6: When you're finished, click Join. Your preferences appear on the next page in the top right, and you will receive a Welcome message.

Part 2: Set up your Microsoft 365 Subscription
STEP 7: In the Set up your developer subscription dialog box, create a username and domain. This account will have global administrator permissions for the subscription. You can choose any username or domain name as long as it is not already used. Do not use spaces.
STEP 8: Create and confirm a password.


STEP 9: Choose Set up. (If you are asked to prove that you're not a robot, follow the instructions, and then choose Verify.) After the subscription is created, your subscription name and expiration date appear on your profile page.

STEP 10: Once at this page, you can click on Go to subscription to take you to your brand new Microsoft 365 Tenancy.
IMPORTANT NOTE: You also get SharePoint Online and OneDrive and a host of other products and services. These might take a while to get created but go explore! Welcome to your free tenant!
